
The latest innovation on the plumbing market is the so-called recessed faucets, which are now used for showers, bathtubs, sinks, bidets, etc.
First of all, the faucet can be placed at some height above the tray directly on the wall. There used to be a sink, and it was removed, leaving the faucet. Second, the faucet may be built into the box. There may be other situations, but these two are the most common. It is the method of installation that determines how the shower faucet repair is done. And most importantly, the price of the issue. Non-standard parts are harder to get.
So, faucets in the shower box are either built-in or external. In the first case, the unit is an integral part of the corner and the tray, and in the second, it is mounted on the wall. Yes, yes, do not be surprised, there are different faucets. Depending on the design of the shower box faucet and the situational motivation of the buyer at the time of making a decision on the choice of this or that product. Sometimes the tap is mounted on the edge of a cast-iron tray, at such a height it is not convenient for everyone to use it, so the technical solution can not be called popular.
Replacing the shower faucet tap can be divided into two steps. It consists of removing the old valve and installing a new faucet faucet. There are many reasons to replace your shower faucet, but one common one is to install a new pressure-balancing valve, which can detect fluctuations in the system and maintain a constant water temperature even if other fixtures and appliances are running during the shower. . This can be an important safety consideration when not using the fixtures.
Replacing the shower faucet valve is a relatively complex project that requires the skills to solder copper pipes and fittings. For this reason, we have divided the project into two lessons. For the first time in this project, we focus on removing the old faucet in a moderately difficult part.
Tools and materials required:
- screwdriver
- a new shower faucet
- Allen key (if necessary)
- utility knife
- needle-nose pliers
- mini hacksaw
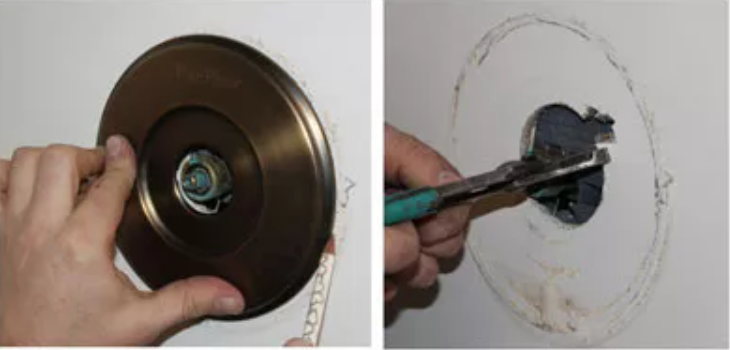
Remove the mixer handle
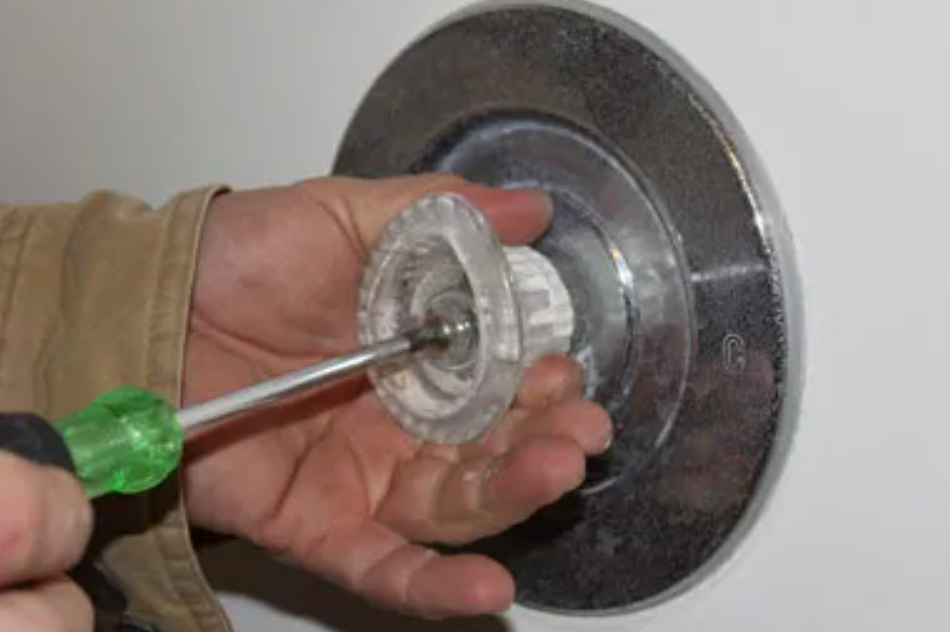
Start by removing the shower handle. In this example, there is a screw behind the cover that holds the handle in place. In other cases, you will need an allen wrench to remove the screws and then remove the handle.
Cover the shower or tub drain with a rag to keep the screws and small parts from falling out of the drain.
Remove the decorative cover of the mixer
Remove the skirt overlay area to gain access to the shower valve. You can easily get a second set of screws that hold the decorative plate in place without pulling on the handle. Loosen both screws and remove the plate from the wall.
If there is a seal around the decorative plate, you may need a utility knife to cut the caulk off before the plate comes off.
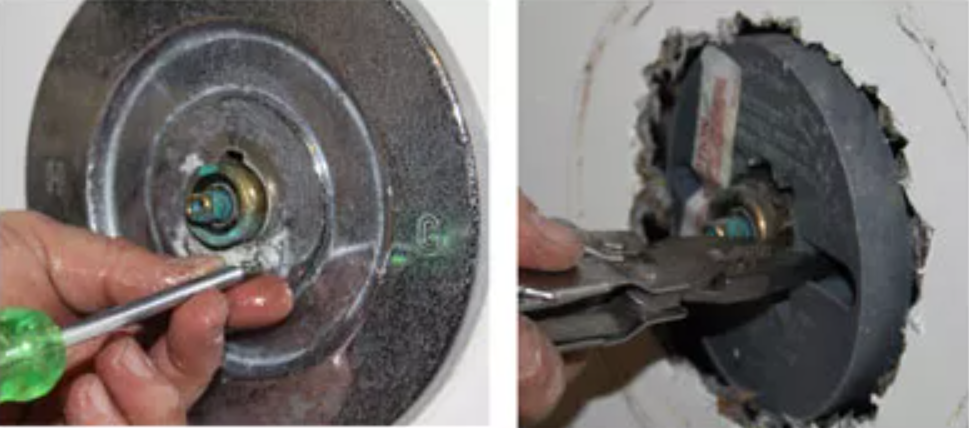
If there is a cover plate covering the valve, it needs to be removed.
In this example, I had to enlarge the tap hole in the wall to remove the protective plate. If you need to do the same thing, make sure the holes are only the size you need to minimize wall repairs after the new faucet is installed.
Cut out the faucet access hole
If necessary, cut or cut a larger hole to remove and install the valve. There are two options. Cut a wall behind the plumbing cavity or make a small hole in the frame.
In this example, enlarge the hole in the shower enclosure. Since our shower enclosure was made of fiberglass, we were able to tear off pieces with pliers to widen the hole. Different types of wall surfaces may require different methods to enlarge the faucet hole.
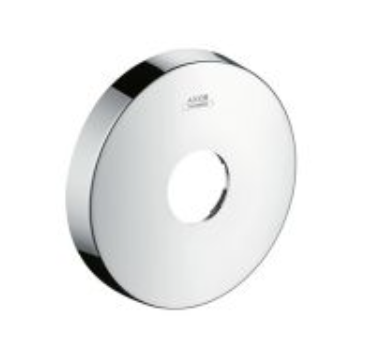
Ideally, this hole should be hidden behind the cover of the new faucet at the end of the project. To make sure the hole isn’t too big, use the new cover as a reference point to measure how deep the hole can be made.
Decide what fittings you need for existing pipes

Removing the old faucet valve

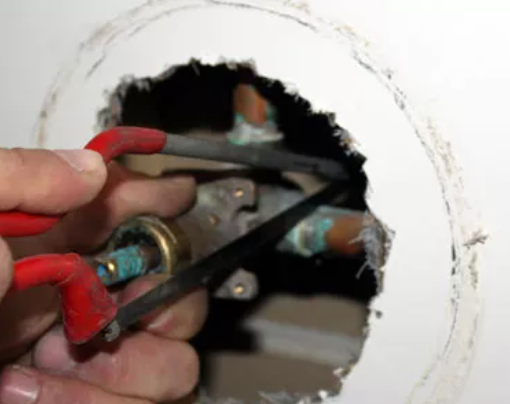
Turn off the water and cut the old valve out of the wall, leaving enough space to install the new valve. Generally, the best tool for cutting copper pipes is a plumber’s cutter, but for tight spots in projects like this one, a mini hacksaw will work well. Once the pipe is cut, it will be easier to install a new shower valve.
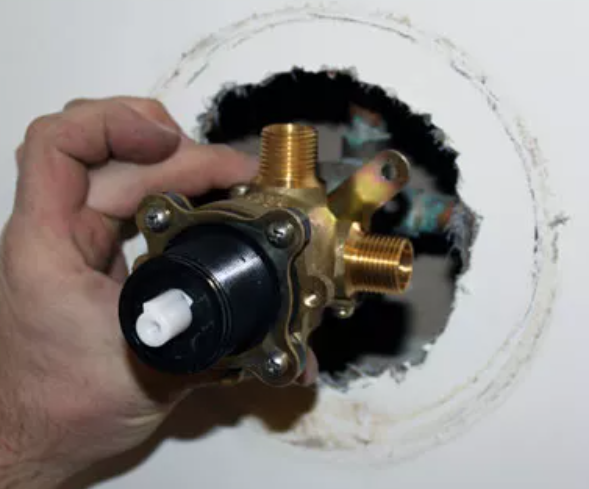
Now you are ready to install the new shower valve.


