
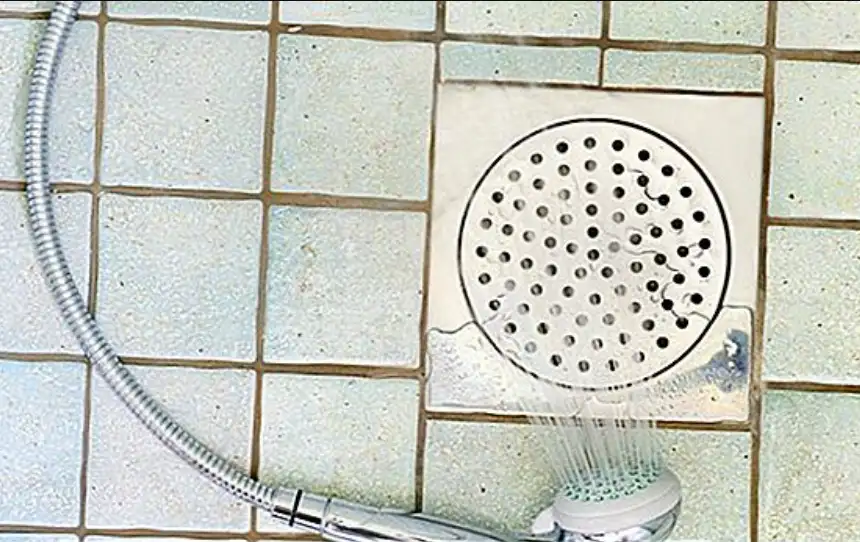
Floor drain has been popular in many countries for decades, it is the new trend for bathrooms.
Shower cabins without a tray (flush with the floor). Drain in the floor of the bathroom seems to some people a very convenient solution, while others would prefer a shower stall with a tray.
When choosing a drain for a prefabricated shower unit, you have several options. The choice depends on the shower drain and the situation. And the type of pipes you have in your home can help you decide which material to buy for your shower drain. Recommendations from manufacturers of both shower trays and drains can help you decide which shower drain is best to buy.
Shower Drain
Now let’s look at some common shower drains and a brief description of how to install them.
The shower drain is designed for a 2-inch drain, a 2-inch pipe is the recommended pipe size because the shower has a low overflow, and a 2-inch pipe drains faster than a 1 1/2-inch pipe. If you shower in the tub and shower in the shower, you may need to change the size of the drain pipe.
Compression shower drain
Shower drains connect to residential drains using compression washers and nuts. It is usually easier to install than a complete shower drain connection. Compression drains are available in PVC, ABS or brass tubing. Either one can be used with a steel, fiberglass or plastic shower tray.
When installing a compression shower drain, it is first installed at the bottom of the shower.
- The exhaust pipe should rise about 3/4 to 1 inch below the edge of the shower outlet. You may need to place a shower tray to mark the correct height. Then remove the tray to cut the pipe.
- Screw pipe drain caulk or silicone sealant into the top flange of the shower drain fitting and insert the drain fitting into the drain. Slide the cardboard friction ring and large rubber washer into the spigot under the shower rack.
- Tighten the shower drain until it is nice and tight, then remove any excess caulk or silicone.
- Install the shower stand and insert the rubber gasket into the drain pipe. It is designed to fit securely with a screwdriver, so you need to push it into that position.
- This drain usually has a tool to tighten the nut from the inside. Tighten the nut with this tool.
- Once the nut has hardened, use plumber’s caulk and the drain will be ready for water. If silicone is used, make sure the silicone is dry before checking for leaks.
Gutter sticker

Adhesive and ABS and PVC plastic outlets. If you have plastic drains, make sure your shower drains match the type of plastic used in your sewer system. Like compression shower drains, this type is available with steel, fiberglass and plastic shower racks.
Self-adhesive fittings can make it difficult to measure the pipes correctly, so measure carefully before gluing them on and check again dry.
- When cutting the drain pipe, do not cut the pipe too short. Do not glue the bottom of the drain pipe to the drain pipe and set the shower base in place to check the height of the drain pipe. Adjust accordingly.
- If the drain pipe is at the correct height, first install the drain to the bottom of the shower or glue the bottom to the pipe, then tighten the top flange once the base is in place.
- Apply plumbing putty or silicone to the top flange of the drain. The paper friction washer and rubber washer go on the bottom side above the outlet.
Caution!
When gluing the drain to the pipe, use the appropriate adhesive: ABS adhesive for black plastic and PVC adhesive for white plastic.
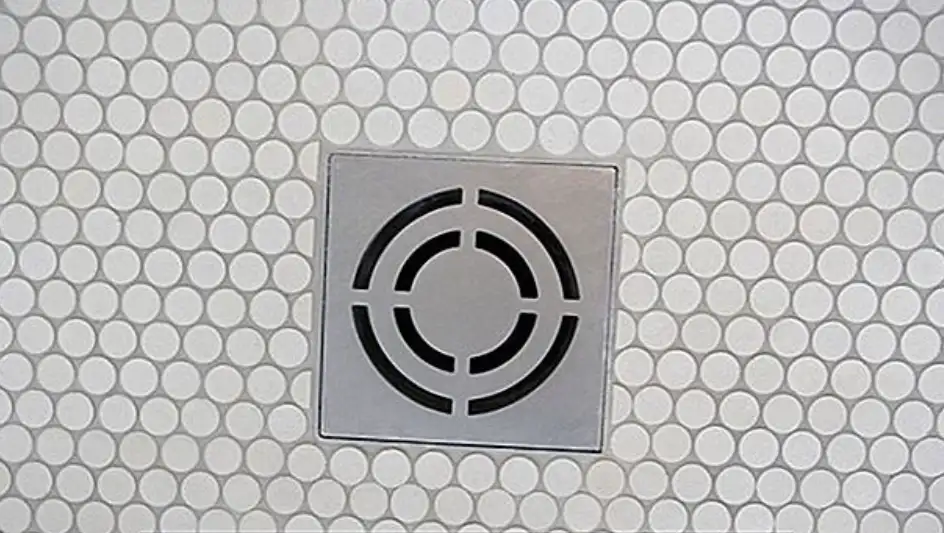
Tile shower drain
If you are installing a drain for a custom tile shower tray, install the drain fitting early in the construction of the ceramic tile toilet. Tile drains are available in ABS, PVC and cast iron. The shower drain pipe has a built-in flange that holds the waterproof membrane liner to the pan. This liner is the lowest watertight layer and ensures that anything that gets under the solution will still go down the drain and not leak through the shower tray.
The shower drain consists of three parts: the bottom flange, the middle flange, and the filter fitting.
- After the shower bottom is prepared and cleaned, install the bottom flange of the trap, usually by gluing it to the drain pipe.
- Use grout to create a firm base for the shower, and tilt it 1/4 inch from the wall toward the drain.
- Install the liner over the bottom and flange of the pan. Attach the liner to the drain flange with silicone sealant. Throw the liner around the drain.
- Screw the middle flange of the drain fitting to the liner and the drain assembly to the bottom flange under the liner.
- Attach the drain filter assembly to the drain about 1 1/2 inches above the liner.
- Now you are ready to install the rest of the ceramic tile. This will usually be the second layer of mortar with the ceramic tile laid on top of the mortar.
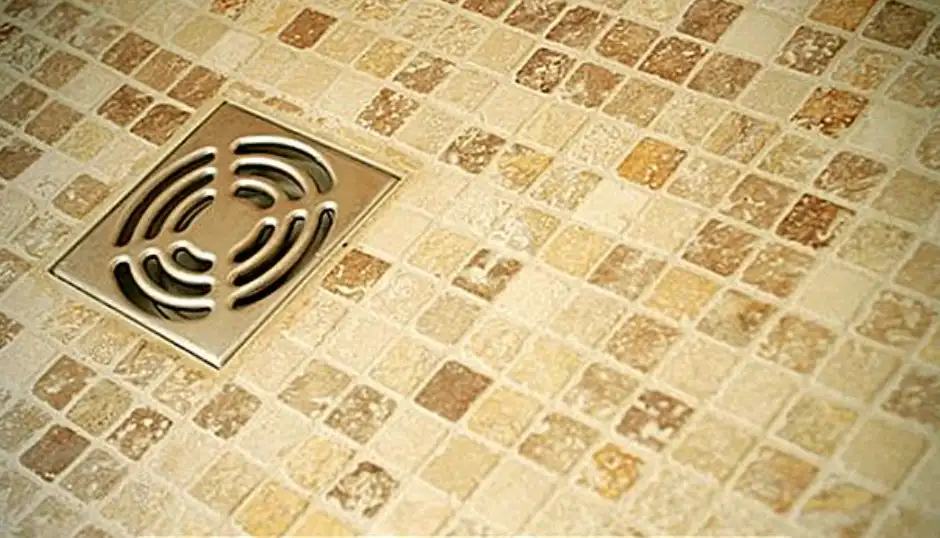
The arrangement of the drain in the floor should not cause you problems.


